HOORAY! WE HAD SNOW! – YOU KNOW, THAT WHITE STUFF?

I WISH WE HAD IT MORE OFTEN. WELL SOMETIMES. I DIDN’T ENJOY IT WHEN I HAD TO CARRY LITTLE KIDS OUT TO THE CAR,
BUT I do now that I can sew and look out the window!
TO CELEBRATE
OUR “WHITE” THEMED PATTERNS ARE ON SALE IN JANUARY!
Make a fun Silly Snowmen Quilt or wall hanging. Get the FREE tutorial including the snowflake block pattern here.
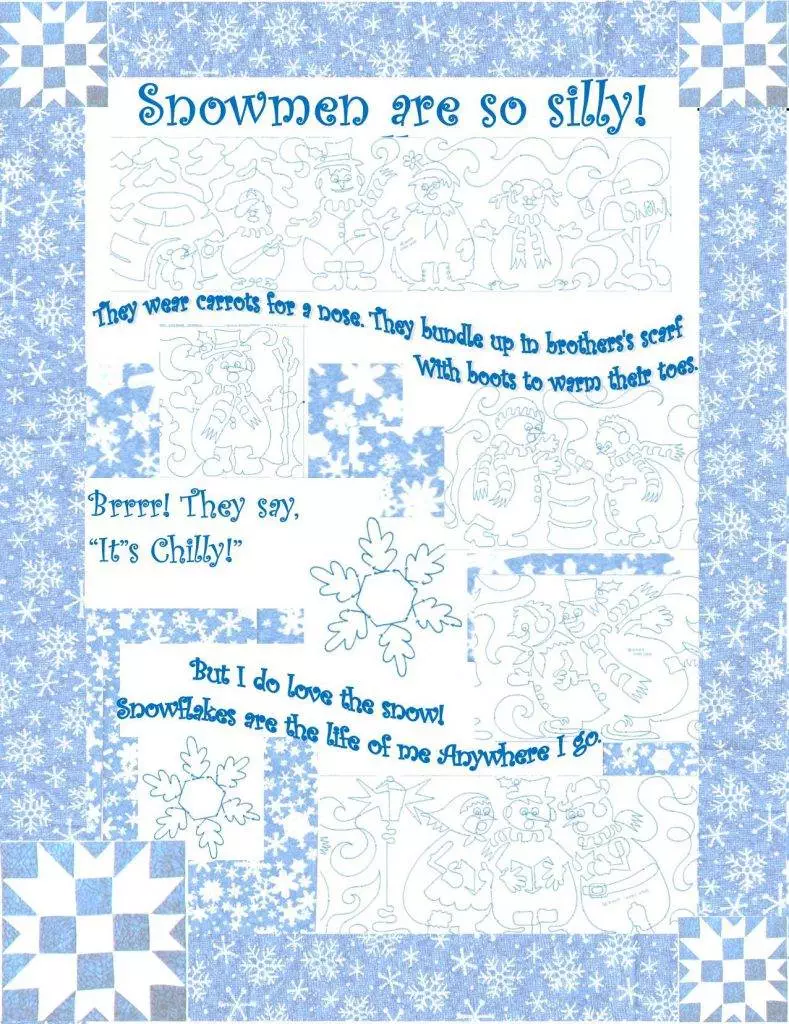
Don’t you love those cute, funny snowmen roasting marshmallows and singing carols? For stitching your “Snowmen are so Silly” quilt just lift them out of the “Silly Snowmen” pictogram. https://www.meadowlyon.com/shop/silly-snowmen/

To make a “WINTRY” Table Topper or Wall Hanging use the FREE Snowflake Block/Quilt pattern that comes with the “Snowmen are so Silly!” tutorial above.
For a simpler approach, these four images are now available in stencil form through our distributor Full-line Stencils. Use them in lots of ways!
https://fulllinestencil.com/50041-singing-carols.html
I’m always dreaming of food! So Scroll down for something Yummy!!
Snow Dyeing? YES! This seemed like a good time to pull out those wire baskets I insist on saving and open up my bottles of dye. Do you want to try? Follow along.


Blue and yellow.

Red and blue.

Red, yellow & fuchsia.
My method:
Snow dyeing with Procion dyes: First, after washing the white fabric, I soaked it in ½ c. washing soda and 1 gallon hot water for 1 or more hours. Then I scrunched up the cloth (twisting tightly gives a nice effect too), placed it on a grate over a disposable pan and piled about 5 inches of snow on top. After that I poured the pre-mixed dye over the snow. I did different analogous colors in spots. One set of pieces had turquoise, green and yellow and another with fuchsia, tangerine, and yellow. Then, I also did purple and turquoise, and used up the rest of the mixed red and green dyes. I scraped every last bit of snow together for them because in our area it doesn’t last long. They all turned out great. It’s been really fun. (I couldn’t stand to waste any dye, so I also stuffed fabric under the grate to catch the drippings.)
I left them in the cold for a couple of days because I didn’t have time to wash and rinse. Don’t worry it’s not a problem. The longer they remain in the dye, the brighter the colors. However, some melting must occur to liquify the dye. Cold temps make it take longer. (The liquid dye is the key. Once it is dry that is the end of the dyeing.) They actually only need about 24 hours if the snow has melted. (Sometimes I’ve shaded them or brought them into the shed to finish.)
For ice dyeing : Prepare t-shirts or fabric by soaking in washing soda and water.
(See my recent Ice-Dyeing Blog for pictures) https://www.meadowlyon.com/patterns/category/uncategorized/
Leaving the fabric wet, I wrung it out then wadded it lightly and placed it in a disposable pan. If you have a grate you can lift it out of the puddle. I piled ice cubes or crushed ice on top about a hands width high. Then I sprinkled “Tie-Dye” powder in spots over the ice. Don’t sprinkle everything in the same place or you’ll get “mud.” It’s always a good idea to wear masks when working with dye powder! Plus, wear rubber gloves. (You can get Tie-Dye powder at Walmart – don’t use Rit Dye because the colors will not be strong enough.)
In both cases, Wring out the extra dye out-of-doors and then rinse the fabrics well in the washing machine. I added Synthrapol to the wash to carry away any loose dye. You can also add dye absorbing dryer sheets to monitor whether any loose dye remains. Usually 3 times through the cycle gets out all the loose dye. Don’t stop at one and think you’ll be okay.
When you’re finished you’ll have beautiful hand dyed fabrics to use for your next quilt.
Have fun.

Here’s another way to use the Silly Snowmen Pictogram. Find it in the Star Quilt Fantasy PDF.
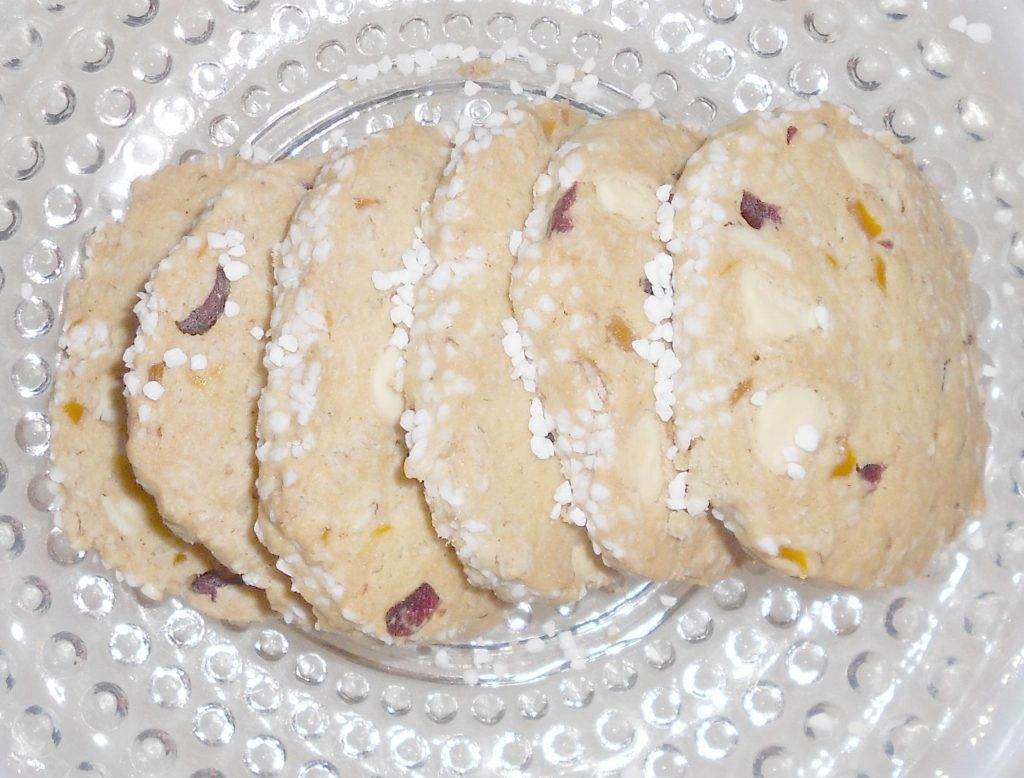
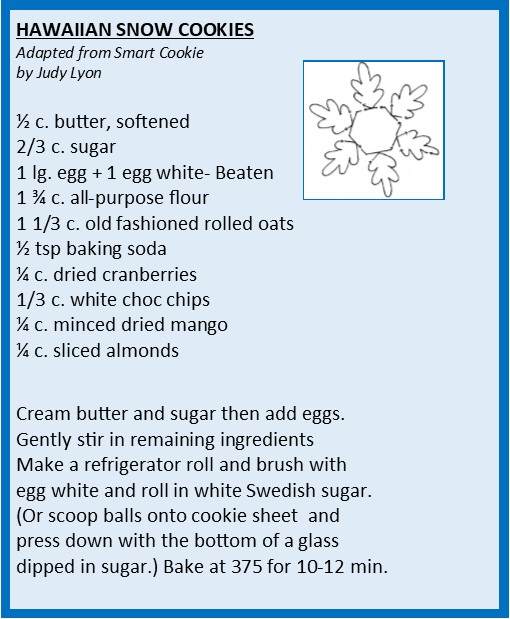
Yep, I do like sweets! Here’s a “Snowy” recipe.